Building a responsive UI in Android has not always been easy considering the number of devices with different screen sizes, aspect ratio, resolution, etc. Complex layouts usually end up containing several nested view groups which significantly decreases performance. The impact of these problems can be diminished by converting your layouts to the flexible and flat in hierarchy ConstraintLayout which I’m going to introduce in this post.
ConstraintLayout
Since the release of Android Studio 2.2 Preview with the improved Layout Editor, there’s an option to convert your layouts to a new and more flexible layout called ConstraintLayout.
ConstraintsLayout has been designed from the beginning to be used with the new Layout Editor without the need to edit the XML manually. Thanks to that, you should be able to build your layouts entirely by drag-and-dropping the views.
Using ConstraintLayout in your project
ConstraintLayout is available as a separate support library and can be used with any Android SDK from API level 9 (Gingerbread). Due to the fact that it’s distributed separately, any future update would work with all Android versions.
The current version of the ConstraintLayout support library at the time of writing this post is 1.0.0 beta 5. The library has been in development for almost a year now and this beta version is considered as the release candidate before releasing the final version 1.0 (EDIT: ConstrainLayout version 1.0 has been released on February 23 (release notes)). Key changes of this version are listed in detail at the end of this post (these include new dimension control, improved behaviour of View.GONE in chains or aspect ratio enhancements).
In order to use ConstraintLayout in your project, first ensure you have the latest Android Support Repository package, ConstraintLayout for Android and Solver for ConstraintLayout installed using the SDK Manager in Android Studio. Then add the ConstraintLayout library as a dependency in your build.gradle file:
dependencies {
  compile 'com.android.support.constraint:constraint-layout:1.0.0-beta5'
}
To start using ConstraintLayout in your layouts, you can either create a new layout with the Root Tag value of android.support.constraint.ConstraintLayout or convert your existing layout by right-clicking on the ViewGroup you’d like to convert.
Adding constraints with the Layout Editor
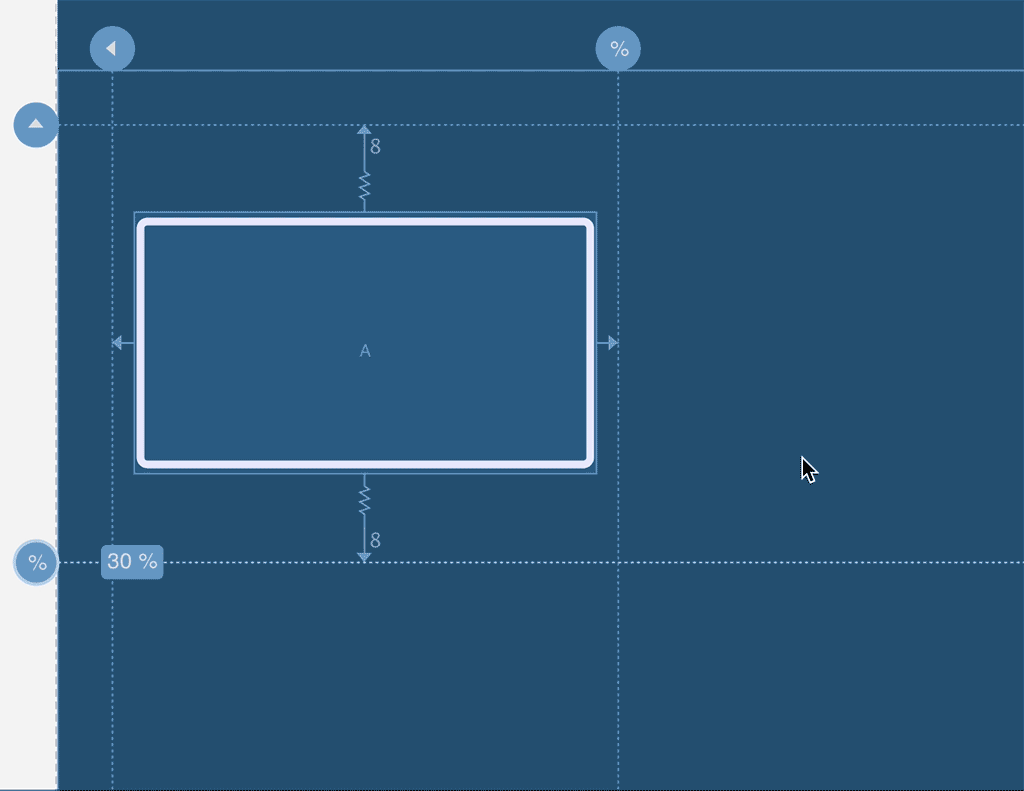
When you drop a view into the Layout Editor, by default it has no constraints defined and stays where you leave it. However, with no constraints defined, when you run your layout on a device, the view is drawn at the top left corner. To avoid views being wrongly positioned, always make sure you add at least two or more constraints (at least one in each horizontal and vertical direction).
Although missing constraint will still allow a successful build, the Layout Editor indicates this as an error in the editor toolbar. You can see the errors by clicking Show Warnings and Errors button. Also, to make sure you never forget to add the constraints, you can use the Autoconnect feature which defines constraints for new views automatically for you:

Position and alignment constraints
View constraints can be created between the view and the parent ConstraintLayout or between two or more views.


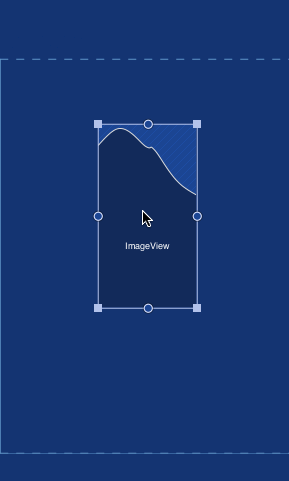
To create a constraint, click and hold on the view’s round handle and drag it to the layout edge or another view’s constraint handle. The green colour indicates established connection. To remove an existing constraint, just click on the view handle after it turns red.

Views can also be aligned using their baseline.


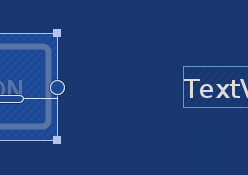
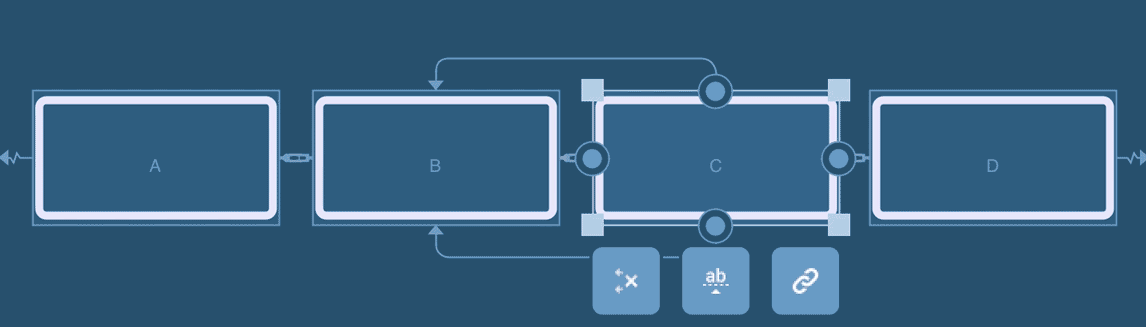
Chains
Chains of views provide group-like behaviour in a single direction (horizontal or vertical). To create a chain, link two or more views together via a bi-directional connection. The chain connection is represented by a chain-like line drawn between them.
Guidelines
ConstraintLayout allows you to add vertical or horizontal guidelines to attach constraints to. They can be positioned within the layout using dp units or percent, relative to the layout’s edge. Guidelines are not visible in the final layout.
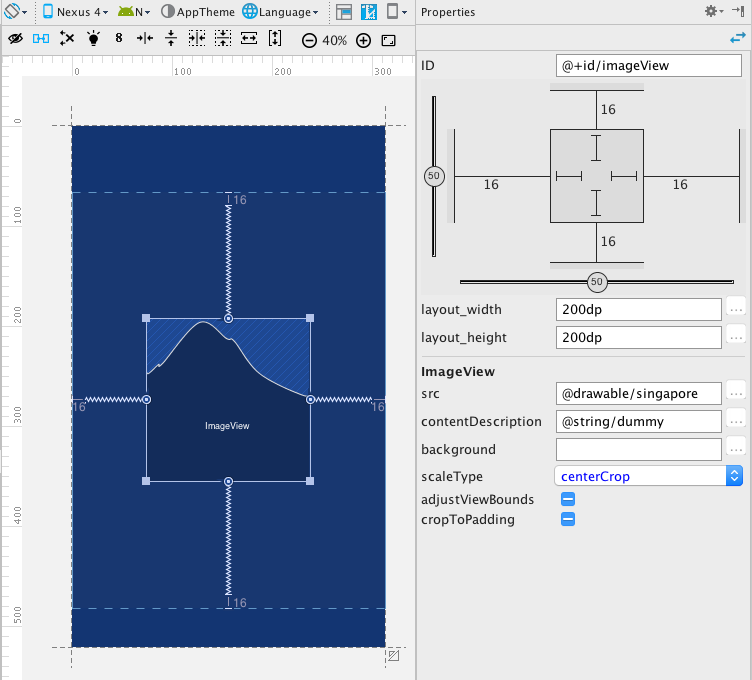
View properties
To edit size, constraints and margins of a particular view, select the view in the Layout Editor and click Properties on the right side of the editor window. The grey square in the middle represents the selected view. Clicking the symbols inside allows you to change the height and width settings of the view.
- Wrap content: the view expands to accommodate its content
- Any size (0dp): the view expands to match its constraints. It substitutes match_parent as it expands as much as possible after accounting for the limits of margins and each of the constraints
- Fixed: the view’s size is exactly as specified (in dp)
When you add a constraint to both sides of a view, it becomes centred by default.The two lines on the left and bottom edge with handles control the horizontal and vertical bias.

ConstraintLayout newest features
The latest update to the ConstraintLayout support library has been released in February 2017. It is considered the last version before releasing the final 1.0 version of the library and it comes with several improvements and new features.
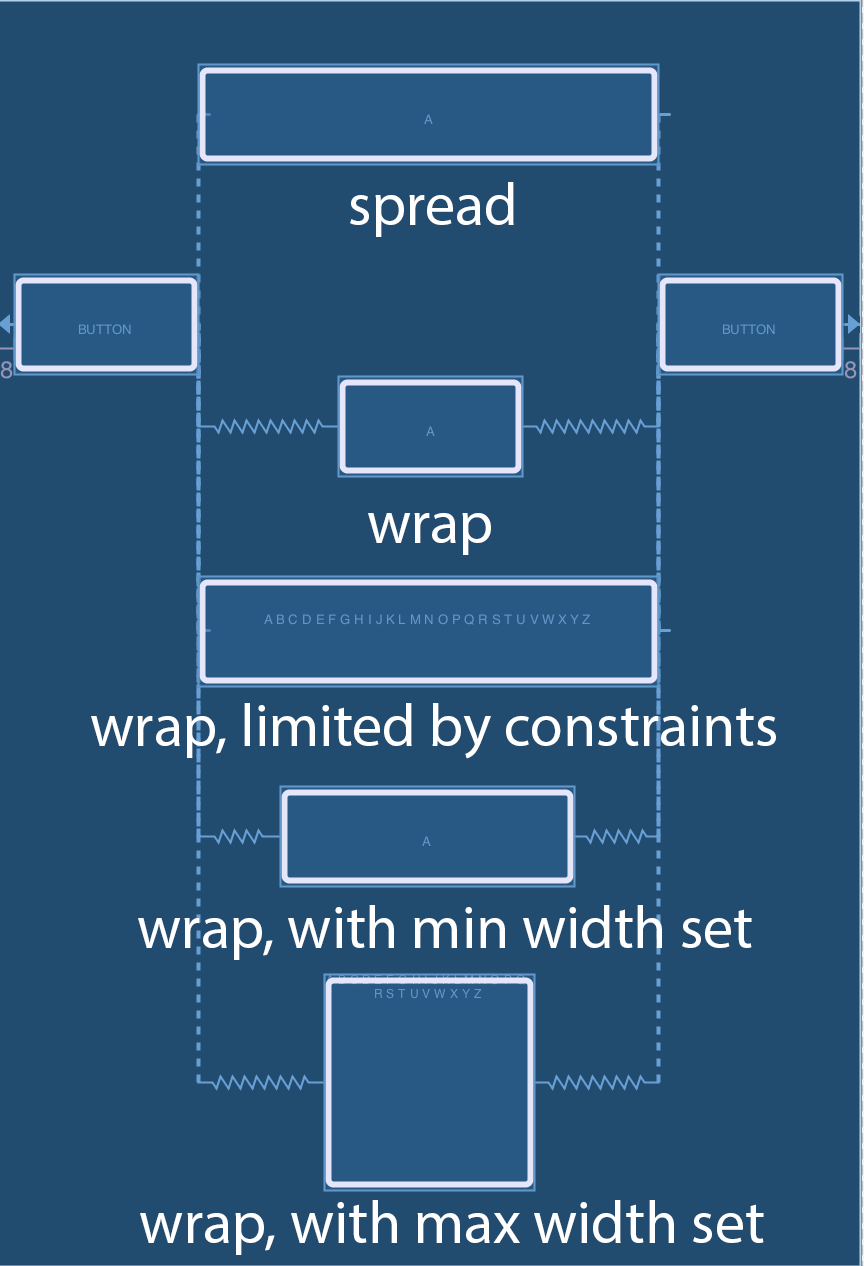
The view dimension control has been improved. New behaviours for view connected to both endpoints (right/left or top/bottom) with Any size (0dp) are available.
- Spread: expands the view to fill the area defined by the constraints
- Wrap: new behaviour with the view resizing in a similar way as when wrap_content was used. Additionally, the view cannot grow beyond the endpoints limits

View aspect ratio support has been improved also. With both dimensions set to Any size (0dp) and the attribute layout_constraintDimensionRatio=”16:9”, the view holds this aspect ratio during changes in the layout.

Chains behaviour has been significantly improved when one of the chain components is marked as GONE. Now the chain reacts as if the view didn’t exist.

Conclusion
In this post, I’ve introduced the new view group called ConstraintLayout which is available for Android as part of the support library. It allows you to create more flexible layouts while avoiding nesting view groups and therefore helps to improve performance.
It takes some time getting used to working with it but once you do, it makes your life much easier when creating complex layouts for your projects. With the latest beta release which is the last one before the final version is released, the library should be stable and reliable enough to be used for production. If you haven’t tried it yet, give it a go and let me know how you like it in the comments below.
Sources
- Android Developers: Build a Responsive UI with ConstraintLayout
- Android Studio: Build a UI with Layout Editor
- Android Developers: ConstraintLayout
- Android Studio Project: New Layout Editor with Constraint Layout
- Android Studio Project: ConstraintLayout beta 5 is now available

